Table of Contents
In recent times, e-commerce has acquired millions of customers and emerged as a huge industry. With time, it is also becoming more and more popular in which Python has a greater edge over the other programming languages in the development of e-commerce. There are a lot of reasons why Django ecommerce is preferred.
It also includes its efficiency, flexibility, and versatility and it is easy to learn and use which ultimately provides a better understanding. It provides security, adaptability, and maintenance of databases which are very important and useful features for any e-commerce website.
Why Use Python Django For E-commerce?
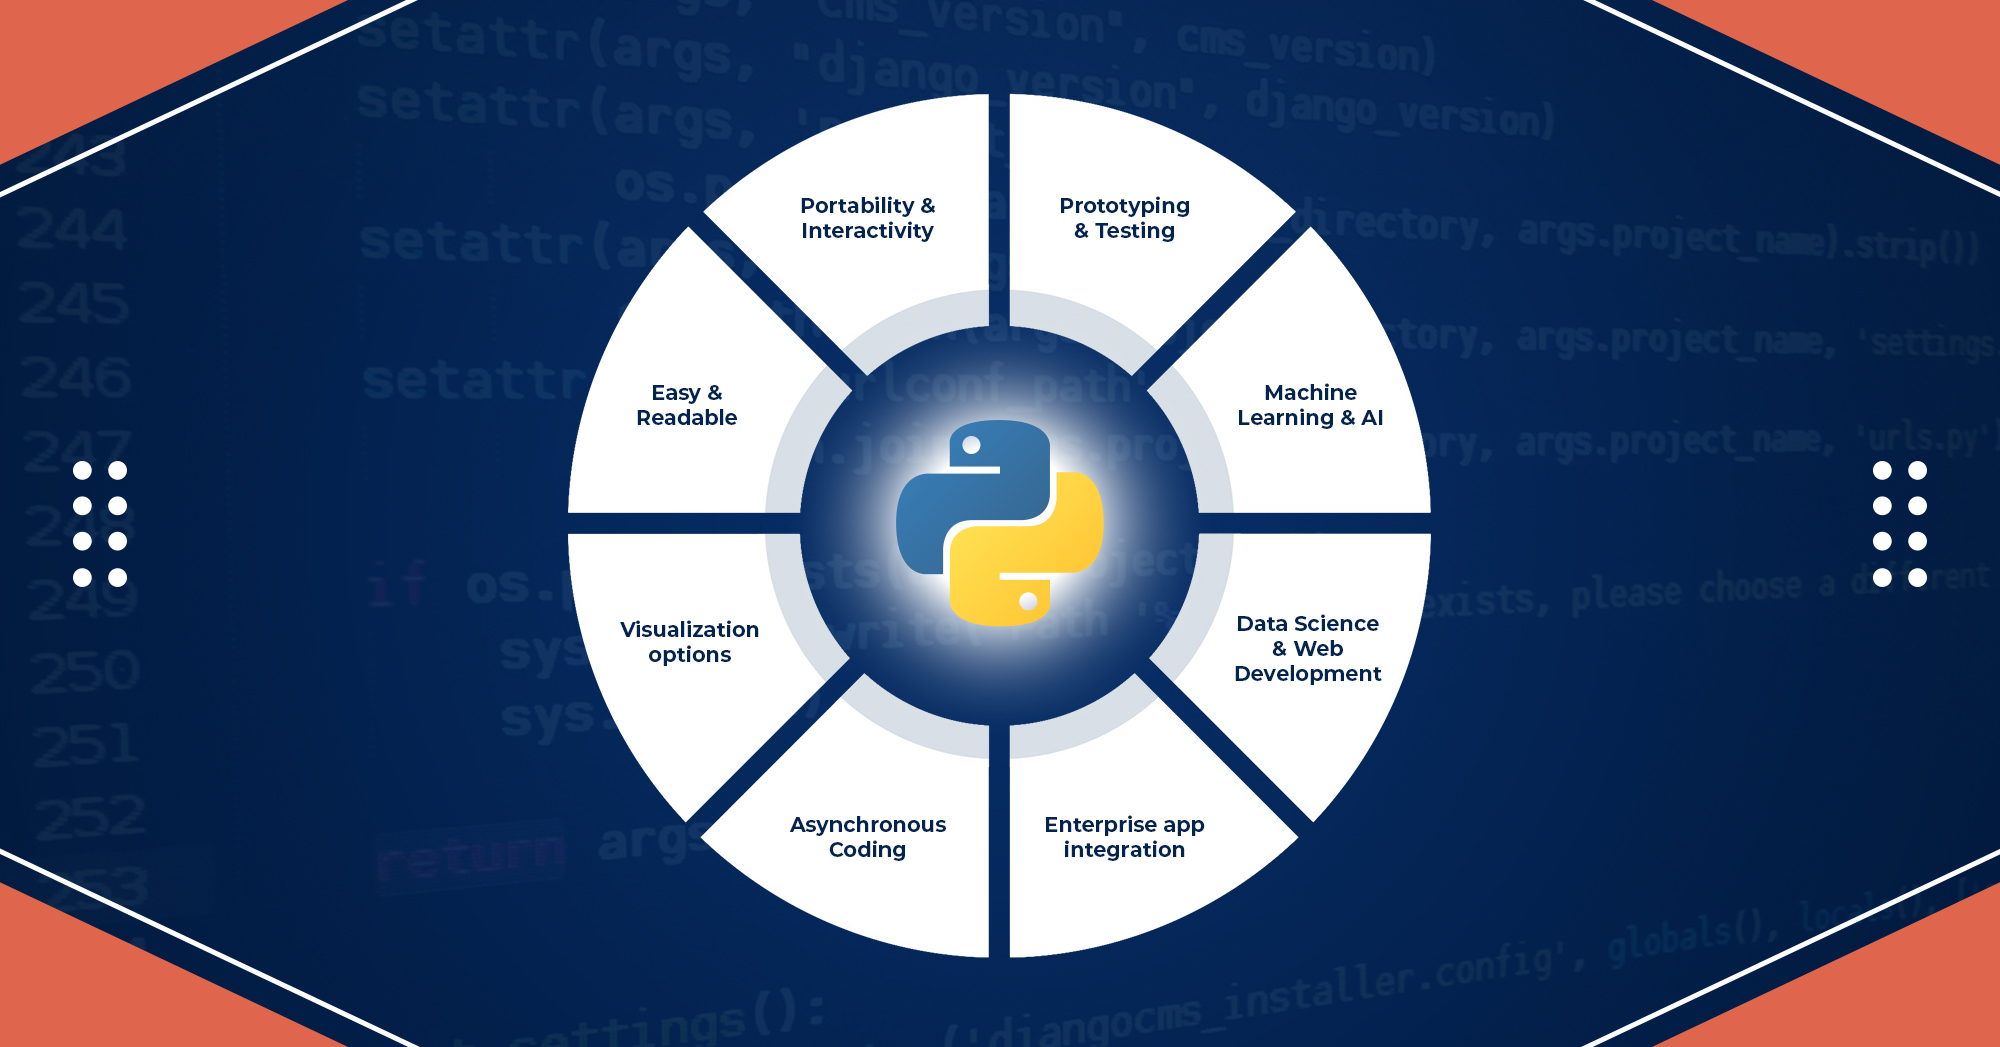
While creating a website, one of the most important things is the selection of the right and suitable framework. A framework should be able to tackle projects of any size and capacity, it should be capable, fast, and easy to use and understand. Django is the one with all these features and benefits due to which it is preferred. The features and benefits are as follows.
-
Scalability:
Whether it’s a simple website or a heavily loaded web application, you can work on projects of all sizes and capacities. Django is cost-saving and provides plugins to extend our web app, and there are countless packages available to help us to scale up our site. It is easy to update or upgrade as Django provides effortless scalability.
-
Security:
Django provides security to your data and resources. Security is one of the most important features of any framework today. Since it promptly releases new security patches, which make sure that Django is highly secured and it is usually the first to respond to vulnerabilities and alert other frameworks of Python.
-
Feature-rich:
Django is Feature-Rich as it provides features out of the box. There are numerous powerful third-party libraries that enable developers to code faster without any difficulty. It is also well-established because of its time-testing and crowd-testing. It provides helping tools like Django-debug-toolbar. It provides high performance along with optimization. Django is time-saving as well.
-
SEO-friendly:
If you want your website to rank high in search results, you’ll need to use Python and the Django framework. This is because it is a simple and readable format. With the Django framework, we can generate easily readable Links and URLs by using the relevant Keywords and exercising the best Search Engine Optimization practices.
-
Reliability:
It is one of the most important features that are highly in demand. Django is a reliable framework that offers flexibility to increase traits and functionalities. It is reliable to have our web application framework with less code. The Django framework is highly modular and supports REST frameworks, which is more useful for developers
Companies Using The Django Framework?
Most famous companies are using Django as they want their website to handle millions of users, handle high loads, and provide fast performance along with unique features so they use the Django framework, which includes:
- Spotify
- The Washington Post
- Dropbox
- Mozilla
- Disqus
- YouTube
Building Django Ecommerce Website
Overview:
There are a few noteworthy e-commerce solutions in the Python/Django ecosystem:
- Oscar: An open-source, domain-driven e-commerce for Django.
- Saleor: An open-source storefront, written in Python.
- Django-SHOP: A Django-based shop system.
- Shuup: A single and multi-vendor application.
Django has a Model-View-Template (MVT) architecture which includes three components i.e. Model, View, and Template.
- Model: A Python class that helps developers to read, update, create, and delete objects. It provides things related to data manipulation.
- View: Fetches data from the modes and interact to carry (or process) data and renders the template.
- Template: Deals with the user interface and is available as a file with HTML code which is used for rendering. It is only used for presentations.
The developer provides the Model, the view, and the template then just maps it to a URL and Django does the magic to serve it to the user.
Setting-up:
Make sure we have the latest version of Python installed. First of all, we will have to set up an environment (using virtualenv package by installing it first)
Python –m pip install virtualenv
Now create a folder for the website and launch the terminal and come to the directory using ‘cd (and the way to directory)’. Now set up the virtual environment using the command:
virtualenv env
It will create a folder named env, to enter in the virtual environment use the command:
source env/bin/activate
After this, the name of the environment with brackets around it will be shown, which means we have entered the virtual environment.
Getting started:
Now we will install Django (if not already installed) using the Pip command.
Python –m pip install Django
Python –m Django version #(for verification of successful installation)
Creating an Application:
- Now inside the virtual environment run the following command for creating a basic structure for the application:
django-admin startproject Django-ecommerce-website
- Now, if we enter in Django-ecommerce-website folder, we will find files named manage.py, settings.py, urls.py, wsgi.py, and a directory with the same name as Django-ecommerce-website.
- It was the entire framework. Now we will enter the directory Django-ecommerce-website and create a website (app) using the command:
Python manage.py startapp Ecommerce
- It will create a directory called E-commerce that contains files including admin.py, apps.py, models.py, test.py, and views.py.
- Here we have created a Django website, now we can test it by running it using the command:
Python manage.py runserver
We can check that the website will be running at http://127.0.0.1:8000/. Then we can open the link and can create our templates for the website using Html, CSS, and JS.
Looking For a Team For Developing Django Ecommerce Website
Share the details of your request and we will provide you with a full-cycle team under one roof.
Building Django E-commerce Website with Wagtail CMS
Wagtail is an open-source content management system that is written in Python. It is used in most websites using the Django framework. It is user-friendly and provides ease of use.
Creating a New Wagtail e-commerce Site:
For building up a Python e-commerce website you must have a basic knowledge of Python and A Snipcart account, which is always free in test mode. Then install Wagtail if not already installed or click here to learn.
Setting-up Wagtail:
- Open a terminal, and start Wagtail by using the command: wagtail start ecommerceSite
- Launch a new Wagtail site by entering the command: cd ecommrceSite
Now inside the folder, open the file named base.py in the settings folder and add wagtail.contrib.settings to the INSTALLED_APPS array.
Models Definition:
Now we need to make Page models for our site. For creating models (customization), open the home folder and enter them into the models.py file. Here firstly add the required modules by importing and then adding Product models.
Importing Required Modules:
Adding Product Model:
After creating Product models we can also create ProductCustomField in the same order according to our suitability.
Adding Snipcart Configuration Settings:
Wagtail provides a lot of facilities such as, we can update the Snipcart API key directly from Wagtail’s dashboard. For this, we will need to add site settings in models.py by importing a module and then adding a few lines as mentioned below:
Database migrations:
As we have created models, now in case of any updations we need to propagate these changes. For this purpose we need database migrations using (terminal) commands:
- Generating database migrations: manage.py makemigrations
- Applying to database: manage.py migrate
Now we are able and ready to create our first CMS user with the command manage.py createsuperuser, which will ask us for the username, and the email and to create a password, which needs to be remembered for future use and for logging in.
Creating products:
For creating products, we need to move to the site http://localhost:8000/admin. Before moving on we need to run the command: manage.py runserver. We shall enter the details which we set before for email, password, username, etc.
- In Watgail’s menu, select the Home page and click on Add Child page button. It will ask us to pick the page type and select the Product.
- Enter the required details of your product and publish it.
Using the above-mentioned steps, we can create as many products as we want for our e-commerce website.
Adding Snipcart API key:
In the context of heading 3.2, we have created a class named snipcartSettings. Now go to Snipcart settings by going to the Settings menu, here we will get our API key which we need to paste into the API key field by going back to Wagtail. Make sure to save settings, after every change or update.
Templating:
Templating is all about the front-end work. For this we have to go back to the main website folder which was ecommerceSite, then the templates folder. Here we can set the required base, footer, then body, etc, and all formatting of our website. For a detailed overview of the templating, click here.
Here, by applying all the above steps we have successfully built up our Django ecommerce website with Wagtail CMS.
Wrapping up:
Python is very powerful compared to all other languages for development. And if we combine it with Django, we get a great combination of versatility, speed, security, flexibility, and a huge range of features due to which this combination is preferred in building e-commerce websites. First of all, we discussed the basic framework or structure and created a Python Django e-commerce site then, we built a proper Python Django e-commerce website with waitgail CMS by applying different steps including setting-up waitgail, models definitions, adding snipcart configuration settings, creating a product, and finally templating.
